
Winterizing Your Sprinkler System: A No-Nonsense Guide
Don't let a winter freeze cost you thousands in sprinkler repairs. We walk you through the surprisingly simple process of blowing out your irrigation system yourself.
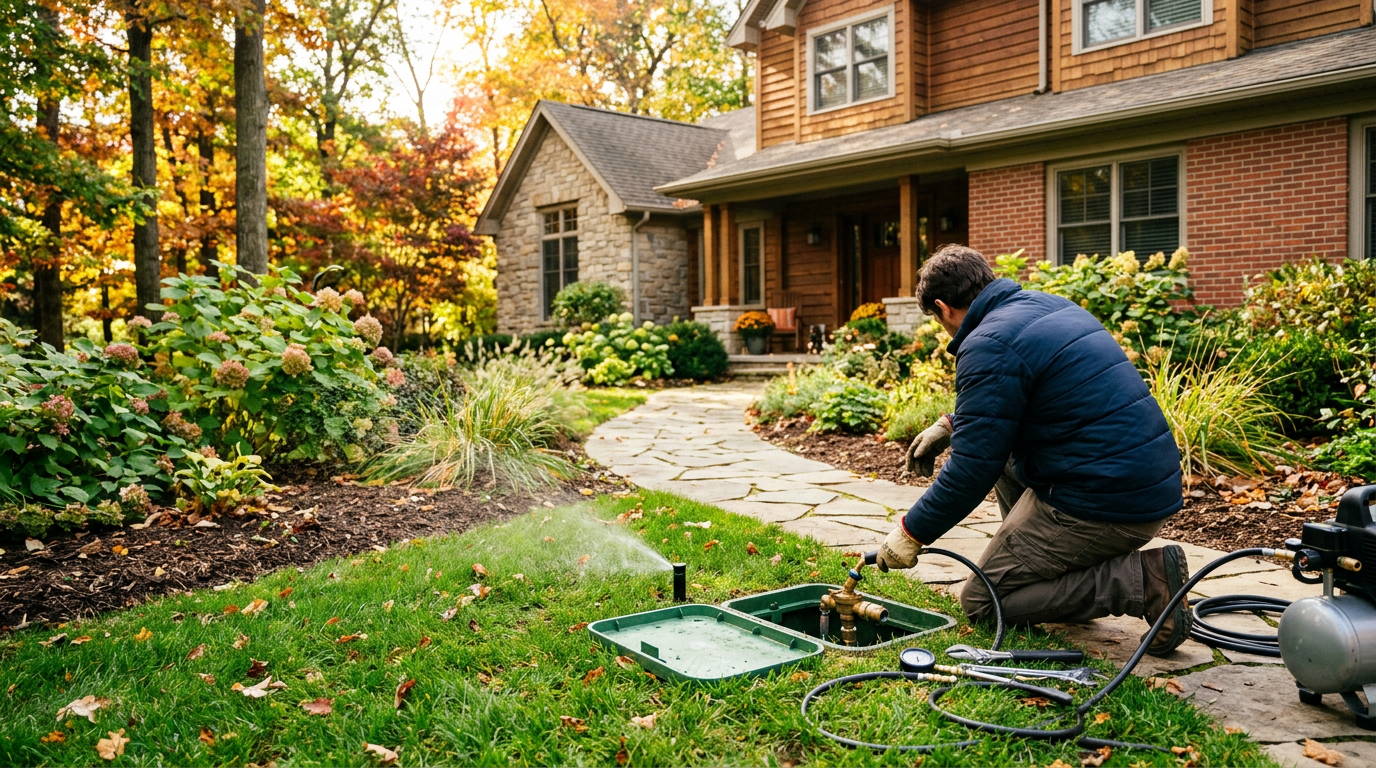
Let's get one thing straight: if you live anywhere that gets a real winter, winterizing your sprinkler system isn't optional. It's not a 'nice to have' or a task for the overachievers. It's a mandatory, non-negotiable part of homeownership unless you enjoy gambling with four-figure repair bills.
Every year, we hear horror stories from people who 'forgot' or 'didn't get around to it' and are now facing a spring of digging up shattered PVC pipes and replacing a cracked, $400 brass backflow preventer. The physics are undefeated: when water freezes, it expands by about 9% with immense force. That force will find the weakest point in your system and split it wide open.
The good news? You don't have to pay a landscaping company $150 to do a 20-minute job. We're going to show you exactly how to do it yourself. It's faster, cheaper in the long run, and honestly, pretty satisfying.
Why You Absolutely Cannot Skip This
Think of the hundreds of feet of pipe buried just a few inches under your lawn. They're filled with water. When the ground freezes, that water turns to ice. Unlike a plastic water bottle that has room to bulge, your buried PVC and polyethylene pipes do not. They crack. Your sprinkler heads, your valve manifold, and especially your expensive above-ground backflow preventer are all at extreme risk.
According to the Insurance Institute for Business & Home Safety, a single burst pipe from freezing can cause $5,000 or more in water damage, and that doesn't even account for the specialized repair of an irrigation system (https://ibhs.org/risk-articles/pipe-freeze-protection/). While a sprinkler line break might not flood your basement, the cost to locate the break, dig up your established lawn, replace the pipe, and restore your turf is no small fee. A professional repair for a single mainline break can easily run from $300 to $800, and a cracked manifold or backflow preventer can push the bill well over $1,000.
This isn't just a concern for folks in the coldest climates. A sudden cold snap can cause damage even in places that don't see months of snow. From the mountains of North Carolina to the high plains of Texas, an unexpected freeze is all it takes.
The Tools You'll Actually Need
Forget the specialized gadgets you see online. You need three basic things. The first is the most important.
-
An Air Compressor: This is the non-negotiable item. Crucially, you need one with a decent-sized tank—we recommend 10 gallons at a minimum. A small 3-gallon 'pancake' compressor doesn't have the air volume (CFM, or cubic feet per minute) to push a column of water through 100+ feet of pipe. You'll just sit there all day while it struggles to refill. We've had great success with a model like the California Air Tools 10020C (around $330). It's quiet, has a 10-gallon tank, and provides plenty of CFM for the job. It's an investment, but it pays for itself in 2-3 seasons of DIY blowouts, and you'll have a great compressor for tires, nail guns, and other projects.
-
A Blowout Adapter: You need a way to connect the compressor's air hose to your sprinkler system's blowout port. This is usually a simple brass fitting. A common one is the Orbit 51121 Blow-Out Adapter (about $8 at Home Depot), which has a 3/4-inch male hose thread on one side and a 1/4-inch quick-connect plug for the compressor on the other. Check your system's connection point before you buy.
-
Safety Glasses: Seriously. You're working with compressed air. Debris, water, or even a failed fitting can fly out at high speed. Don't be a hero. A pair of 3M Virtua CCS glasses costs about $6 and is worth every penny.
Step-by-Step: How to Blow Out Your Sprinkler System
Alright, you've got your gear. Block off about an hour on a dry afternoon. Here we go.
Step 1: Turn Off the Water Locate the main shutoff valve for your irrigation system. This is often in your basement, crawlspace, or in an underground valve box near your main water meter. It will have a handle (often a ball valve or gate valve). Turn it completely off. If your system has a drain plug on the indoor side of the valve, open it and let the water drain into a bucket.
Step 2: Isolate the Backflow Preventer Go outside to your backflow preventer (that weird set of pipes and valves sticking out of the ground). It will have two ball valves. Use a flathead screwdriver to turn the slots on both valves so they are at a 45-degree angle. This opens them halfway, which helps prevent water from getting trapped on one side of the ball and cracking the valve body when it freezes. Also, open the small test cocks (you'll also need the screwdriver for these) to let any trapped water out.
Step 3: Set Your Compressor and Connect It This is the most critical part. Set your compressor's regulator to a pressure between 40 and 60 PSI. Go higher, and you risk blowing apart fittings or damaging sprinkler heads. Go lower, and you won't have enough force to clear the lines. Attach your blowout adapter to the blowout port on your system (usually located near the backflow preventer) and connect your air hose.
Step 4: Power Up the Controller and Pick a Zone Go to your sprinkler controller (the box in your garage). Turn it on and manually start the zone furthest away from your compressor hookup. Starting at the farthest point helps push all the water in one direction out of the system.
Step 5: Blow It Out! The first time we did this, the gurgling and spitting was a little alarming, but it's totally normal. With a zone running, slowly open the valve on your air compressor. You'll hear air rushing into the system, followed by a blast of water from the sprinkler heads in that zone. Let the air run for at least 2 minutes, or until the heads are just spitting a fine mist. Don't run the compressor for more than 3-4 minutes straight on a single zone, as the friction of dry air can heat up and damage the plastic gears in rotor heads.
Step 6: Cycle Through All Zones Once the first zone is misting, go to your controller and switch to the next zone. Do not turn the compressor off between zones. Just let it run. Repeat the process from Step 5 for every single zone in your system. Work your way from the farthest zone to the one closest to the compressor hookup.
Step 7: Do It Again (The Pro Secret) When you've finished the last zone, don't pack up yet. Go back to your controller and run through every zone again, this time for just 30-60 seconds each. This second pass will push out any residual water that may have settled in low spots. This is the step most amateurs skip and the reason pros get a truly empty system.
Step 8: Final Shutdown Once the second pass is done, turn off the compressor and disconnect the hose. Leave the valves on the backflow preventer at that 45-degree angle. At your controller, turn the dial to the 'Off' or 'Rain' position. You're done.
When to Winterize: Timing is Everything
The golden rule is to blow out your system before the first hard freeze, which is typically defined as when temperatures dip to 28°F (-2°C) or lower for several hours. This is cold enough to freeze the ground and the water in your pipes.
- For homeowners with New England front yard landscaping in Massachusetts, this is usually in late October.
- If you're gardening with Midwest perennials in Illinois, you're also looking at mid-to-late October.
- Those with lush Pacific Northwest landscaping in Washington might be able to wait until early November, but watch the forecast closely.
The perfect time to do this is on a weekend after you've finished your other major fall lawn tasks, like the final mow and deciding on when to overseed your lawn in the fall. Don't wait until the first snowflakes are in the forecast; by then, every landscaping company will be booked solid and you'll be in a panic.
Hiring a Pro vs. DIY: A Cost Breakdown
A professional blowout service typically costs between $75 and $200, depending on the size of your system and local market rates. Let's call it an average of $125 per year.
Your DIY investment looks like this:
- Air Compressor: $330 (one-time cost)
- Adapter & Glasses: $14 (one-time cost)
- Total DIY Cost: $344
By doing it yourself, you break even in less than three seasons. By year five, you've saved close to $300, and you own a versatile air compressor for life. For us, the math is a no-brainer. It's a small investment that protects a much larger one and saves you money year after year.
Frequently asked
What PSI is safe for sprinkler lines?+
Keep the pressure between 40 and 60 PSI. Going over 60 PSI can damage sprinkler heads, fittings, or even burst the PVC or poly pipes. It's much safer to use lower pressure and higher air volume (CFM) to clear the lines effectively.
Can I use a small pancake air compressor to blow out sprinklers?+
It's not recommended. Small compressors (under 10 gallons) lack the air volume (CFM) to push water through long pipe runs. The compressor will constantly cycle to refill its tank, making the process incredibly slow and often ineffective, leaving water in low spots.
How do I know when a sprinkler zone is fully blown out?+
You'll know a zone is clear when the sprinkler heads stop spraying streams of water and only a fine mist is coming out. Let it run for about 2 minutes per zone, then do a second, faster pass through all zones to ensure everything is clear.
What happens if I forget to winterize my sprinklers?+
If you forget and the ground freezes, the water in the pipes will expand and likely crack the pipes, valves, or sprinkler heads. The most expensive damage often occurs to the backflow preventer, which can cost hundreds of dollars to replace. Spring repairs are costly and disruptive.
Do I need to winterize sprinklers in a warmer state like Georgia or Texas?+
Generally, yes. While the ground may not freeze for long periods, even a single night of a hard freeze can be enough to crack an exposed backflow preventer or shallow pipes. It's a low-cost insurance policy against a freak cold snap, which are becoming more common.