
How to Design a Backyard From Scratch: A No-BS Guide
Turning a blank slate backyard into your personal oasis feels daunting. We're breaking down the entire process into manageable steps, no landscape architect degree required.
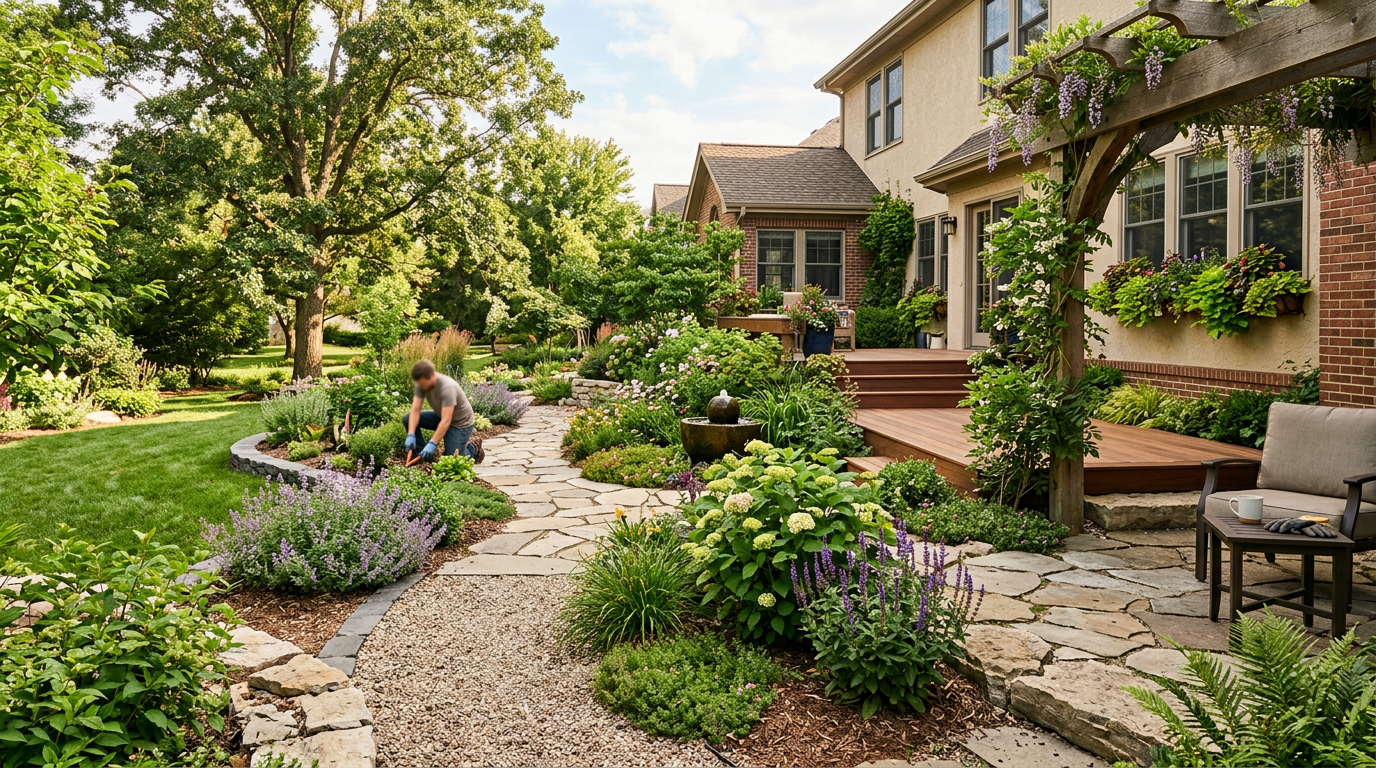
Staring at a backyard that’s nothing but dirt, weeds, or sad, patchy grass is both a blessing and a curse. On one hand, it's a blank canvas! On the other, it's a blank canvas. The sheer number of possibilities can lead to paralysis. Where do you even begin?
Don't call a landscape architect just yet. You, a regular homeowner with access to a tape measure and a bit of common sense, can absolutely design a backyard from scratch. We've done it with our own properties—turning mud pits into functional, beautiful spaces—and we're here to walk you through the exact same process. No gatekeeping, no vague advice. Let's get to work.
Step 1: The 'Dream vs. Reality' Check (aka The Plan)
Before you pin a single image or buy a single plant, you need a plan. This is the least sexy but most important step. Get it wrong, and you'll be redoing your work in five years. Ask yourself these questions and be brutally honest:
- How will you use this space? Not how a magazine says you should use it, but how you will. Do you host big parties? Do you want a quiet corner to read? Do you need a durable, dog-proof area? A safe place for kids to play? A spot to grow vegetables? Write it all down.
- What's your real budget? Landscaping can cost a little or a lot. Are you planning a $2,000 DIY spruce-up or a $20,000 professional overhaul? Knowing this number now dictates everything, from material choices to how much you can do at once. The cost of a full design can be significant, so it's worth seeing if a DIY approach is for you first. If you are curious what the pros charge, check out our breakdown of how much landscape design costs.
- What's your maintenance tolerance? Do you enjoy spending weekends gardening, or do you want a setup you can almost ignore? A sprawling English garden is beautiful but demands hours of weekly work. A simple patio with a few tough native plants might be more your speed. Our list of low-maintenance backyard ideas is a great place to start.
Your answers to these questions form your design brief. Refer back to it constantly.
Step 2: Know Thy Yard (The Site Analysis)
Now it's time to play detective. You need to understand your canvas before you start painting on it. Grab a 100-foot tape measure, a notepad, and your phone's camera.
- Measure Everything: Create a base map of your property on graph paper (1 square = 1 foot) or with a simple app like Yard Planner. Mark the location of the house, doors, windows, existing trees or features you want to keep, and property lines.
- Map the Sun: This is non-negotiable. Over the course of a full day, sketch out where the sun and shade fall. Note the full-sun areas (6+ hours of direct light), part-shade spots, and full-shade zones. This will determine your plant choices later.
- Identify Utilities: Before any shovels hit the ground, call 811. This free national service will send someone to mark the location of underground gas, water, and electrical lines. Don't skip this. Seriously.
- Find the Problems: Where does water pool after it rains? Is there a spot with terrible drainage? Do you have a direct view of your neighbor's messy side yard? Is there a significant slope? Note these problem areas on your map. A good design solves problems, it doesn't just add pretty things.
Step 3: Create Your 'Rooms' (The Bubble Diagram)
Okay, you have your needs list and your site map. Now, let's merge them. This is where the design really starts to take shape, but we're going to keep it loose and low-pressure.
On a copy of your site map, draw rough circles or "bubbles" for each of your desired functions. This is called a bubble diagram. Don't worry about perfect shapes or placement yet. Just draw a circle and label it "Dining Area," another for "Grill Station," another for "Fire Pit Lounge," and one for "Kids' Play Zone."
Think about how these spaces relate. The grill station should probably be near the dining area and have easy access to the kitchen. The kids' play zone should be visible from a main window. The quiet reading nook should be tucked away from the noisy play area. Arrange and resize your bubbles until the flow makes sense. This simple exercise is the core of professional landscape design.
Step 4: Hardscaping - The Bones of Your Backyard
Hardscaping is the non-living stuff: patios, paths, decks, retaining walls, and pergolas. It's the 'bones' of the yard, and it's what you should install first. It's expensive, permanent, and a pain to install after your plants are in.
Based on your bubble diagram, define the shapes of these areas. Your "Dining Area" bubble becomes a 12'x14' paver patio. The path connecting it to the back door becomes a 3-foot wide gravel walkway.
- Patios: Pavers are the king for DIY projects. We've laid thousands of square feet of them. They are forgiving and look great. Materials like Belgard's Catalina Grana pavers run about $6-$9 per square foot. If you're ready to tackle it yourself, our DIY paver patio guide has every detail you need. Wondering about the total investment? We've broken down how much a paver patio costs whether you DIY or hire it out.
- Paths: Decomposed granite or pea gravel are cheap, attractive, and easy to install for secondary paths. For a 50 sq. ft. path, you'll need about a half-ton of gravel, costing around $50-$75.
- Fire Pits: A fire pit area can anchor a whole zone. You can create one in a weekend with a simple kit. Our guide shows you exactly how to build a fire pit area that looks custom.
Investing in hardscaping isn't just an expense; it's a solid investment. According to the National Association of Realtors' 2023 Remodeling Impact Report, a new patio has a cost recovery value of 100%, and a full landscape upgrade can also yield a 100% return at resale. You get to enjoy the space, and you get your money back later. It's a win-win. (Source: https://www.nar.realtor/research-and-statistics/research-reports/remodeling-impact-report)
Step 5: Planting - The Living Layer
With the bones in place, it's time for the fun part. We learned the hard way that planting a cute little river birch too close to the house was a huge mistake. Ten years later, its roots were threatening the foundation. Always design for the mature size of the plant, not the size it is in the pot.
Follow this order:
- Trees: Plant these first. They provide scale, shade, and structure. Choose trees that fit the mature scale of your yard.
- Shrubs: These are the walls of your garden rooms. Use them to define edges, create privacy screens, and add mass.
- Perennials & Grasses: These are your workhorses. They come back every year and provide the bulk of the color and texture. Refer to your sun map and choose plants that will thrive.
- Annuals & Groundcover: Use annuals in pots and hanging baskets for pops of color. Use groundcover to fill in gaps and suppress weeds.
When in doubt, go to a local, independent nursery (not just a big box store) and ask them what works. Tell them your light conditions and soil type, and they'll be your best resource.
Step 6: Furnishings and Lighting
The final layer is what makes your backyard feel like home. This includes furniture, pots, and especially lighting.
Don't skimp on lighting. Good lighting extends the use of your yard into the evening and adds a massive dose of curb appeal and safety. It's one of the most-overlooked elements of DIY design. You don't need to spend a fortune; a simple low-voltage kit like the VOLT All-Star Spotlight Kit runs about $400 and can professionally illuminate a few key trees and your main walkway. We have a ton of other landscape lighting ideas to get you inspired.
Finally, remember that you don't have to do this all at once. A huge benefit of having a master plan is that you can phase the project. Build the patio this year. Plant the trees and shrubs next spring. Add the lighting and fire pit in the fall. Your backyard can be a five-year project, and that's okay. The journey is part of the fun.
Frequently asked
What is the first step in designing a backyard?+
The first step is analyzing your needs and the site. List how you want to use the space (dining, playing, relaxing) and your budget. Then, measure your yard and map out sun exposure, existing features, and problem areas like poor drainage. This plan is your roadmap.
How can I design my backyard on a budget?+
Phase your project over time. Focus on one area at a time, like a patio or a garden bed. Choose cost-effective materials like gravel for paths, do the labor yourself, and buy smaller, younger plants that will grow over time instead of large, mature specimens.
What are backyard 'zones'?+
Backyard 'zones' are distinct areas for specific activities, like rooms in a house. Common zones include a dining area (patio), a relaxation area (fire pit), a play area for kids, and utility areas for sheds. Defining zones makes a backyard much more functional and organized.
What should I plant in a new backyard from scratch?+
Start with a foundation of trees and shrubs appropriate for your climate and light conditions. Then add perennial flowers for recurring color and fill gaps with annuals. For low-maintenance options, prioritize native plants that are adapted to your local environment and require less water and care.
Do I need a landscape designer for my backyard?+
Not necessarily, especially for simpler projects. By following a clear process—analysis, zoning, hardscaping, then planting—you can design a great yard yourself. For complex sites with major grade changes or drainage issues, a professional consultation can be worth the cost.