
How to Design a Backyard from Scratch: A 5-Step Guide
That blank, muddy, or weed-filled patch behind your house isn't a problem—it's an opportunity. We're breaking down the entire process of backyard design so you can create a space you'll actually use.
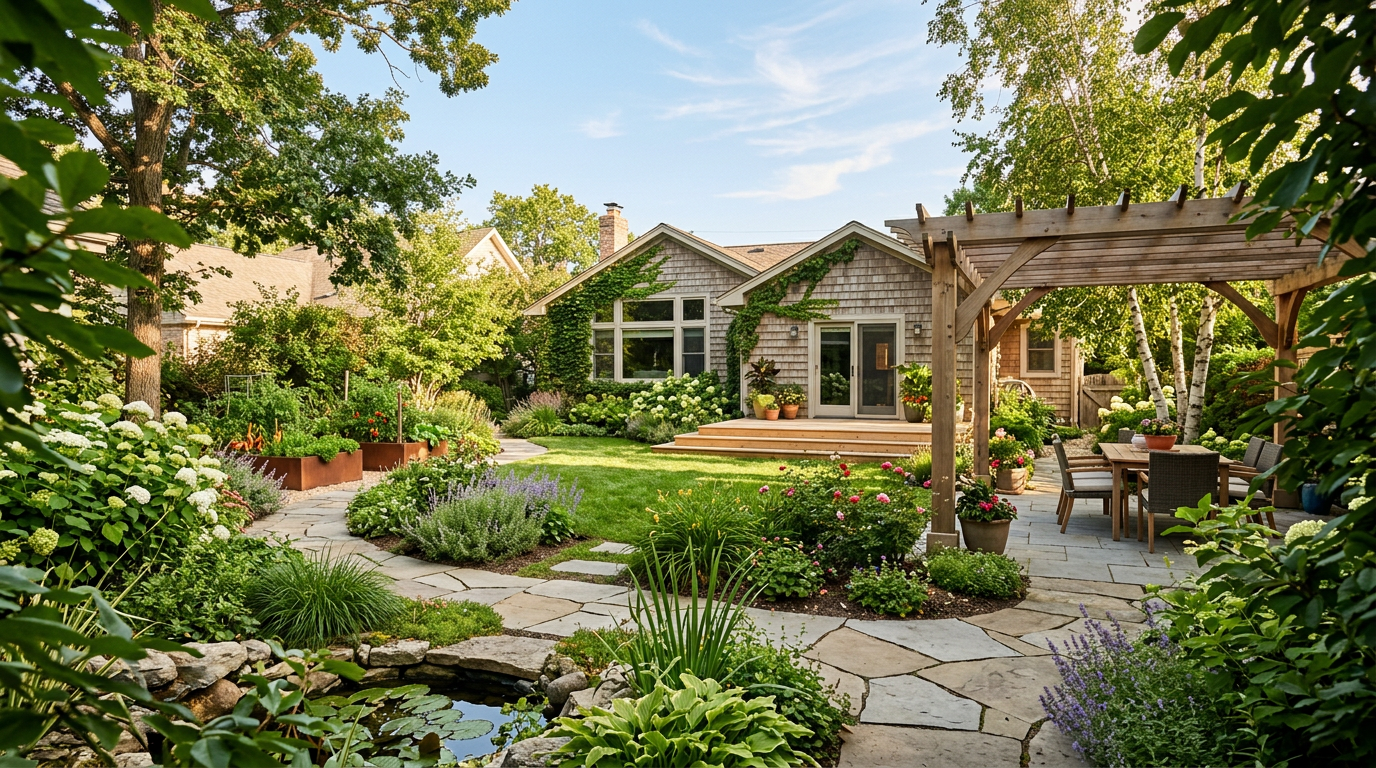
Staring at a dirt lot and calling it a “backyard” is one of life’s less glamorous homeowner moments. It feels overwhelming. Where do you even begin? Most people freeze up, or worse, they rush to the nearest nursery, buy a bunch of random plants, and wonder why their yard still looks like a mess a year later.
We’ve been there. The secret the pros won't tell you is that designing a backyard from scratch isn't about having a 'green thumb.' It's about having a process. It’s about making a few key decisions in the right order. Forget the fancy design software and the gatekeeping jargon. You just need a plan.
This is that plan. We'll walk you through the five essential steps to take your backyard from a blank canvas to your favorite 'room' in the house.
Step 1: Assess Your "Why" (And Your Budget)
Before you draw a single line, you need to answer two questions:
- How do you want to use this space?
- How much can you realistically spend?
Be brutally honest. Don't say “I want a lush English garden” if you hate weeding. Don't plan a 50-person party zone if you're a family of four that just wants a quiet spot for coffee. Think in terms of activities:
- Dining: A place for a table and chairs? An outdoor kitchen?
- Lounging: A spot for Adirondack chairs, a hammock, or a fire pit area?
- Playing: Open lawn for kids or dogs? A spot for cornhole?
- Gardening: Raised beds for vegetables? A dedicated cutting garden?
Once you have your "why," you need a budget. Landscaping has a huge price range. A simple DIY patio might cost $1,000, while a full professional installation with a deck, lighting, and irrigation can easily hit $50,000. Knowing your number now prevents heartbreak later. If you're considering hiring out the planning, it's worth knowing how much landscape design costs upfront, as that can range from a few hundred to several thousand dollars.
According to the National Association of Realtors' 2023 Remodeling Impact Report, adding a new concrete paver patio can recoup 100% of its value at resale. So, while it's an expense, think of it as an investment that also massively improves your quality of life. (Source: National Association of Realtors)
Step 2: Measure and Map Your Canvas
Now it's time to get practical. You need a base map of your yard. This is the single most important step people skip. Don't skip it.
- Get a long tape measure. A 100-foot surveyor's tape like the DeWalt DWHT34028 is a great investment for about $25 and is much easier than using a 25-foot tape over and over.
- Sketch your property lines. Start with a rough drawing of your house and the boundaries of your yard on a piece of graph paper. Let one square equal one foot.
- Measure and add permanent fixtures. Accurately measure and place your house, doors, windows, AC unit, existing trees you want to keep, fences, and utility access points (spigots, outlets, gas lines).
- Note the sun and shade. Watch your yard throughout the day. Where is it sunny in the morning? Where is the deep shade in the afternoon? Sketch these patterns on your map. This is critical for plant selection later.
- Identify problems. Where does water pool after it rains? Is there a slope that's tough to mow? Is there an ugly view you want to screen?
You now have a working site plan. This is your foundation for everything that comes next.
Step 3: Create Your Zones (The Bubble Diagram)
Look at your list of activities from Step 1. Look at your map from Step 2. Now, on a fresh piece of tracing paper laid over your map, draw rough circles or “bubbles” for each activity.
This is called a bubble diagram. It’s a low-pressure way to arrange your space. Don't worry about exact shapes or materials yet. Just think about flow and placement.
- The 'dining' bubble should probably be close to the kitchen door.
- The 'lounging' bubble might be further away, in a quieter corner.
- The 'play' bubble needs open space, away from the grill.
- Connect the bubbles with lines or arrows indicating pathways.
My first time doing this, I had the fire pit bubble way too close to the house. The bubble diagram made it obvious without me having to lay a single brick. Move the bubbles around. Try different configurations. This is where your design really takes shape. How do you move from the deck to the garden to the fire pit? Make it logical.
Step 4: Choose Your Hardscaping First
Hardscaping is the non-living stuff: patios, decks, paths, retaining walls, and pergolas. These are the 'bones' of your yard. They define the spaces you mapped out in your bubble diagram, and they are the most expensive and difficult things to install or change.
This is why you choose them before plants.
- Patio/Deck: This is your primary outdoor room. For your main dining or lounging zone, this is usually where you start. Pavers offer endless design flexibility, and a DIY paver patio is a manageable (but challenging) project. Basic concrete pavers from a big box store like the Pavestone Plaza Series can cost as little as $2-$4 per square foot for the materials.
- Pathways: How will you connect your zones? Don't just let a trail of dead grass form. Use simple flagstones, gravel, or mulch to create intentional walkways. A 4-foot wide path is comfortable for two people to walk side-by-side.
- Vertical Elements: Think about fences for privacy, a pergola for shade over your patio, or a trellis to screen that ugly AC unit.
Once your hardscape is planned, the rest of the yard is essentially a series of planting beds around it.
Step 5: Select Plants That Won't Die Immediately
Now, and only now, do you get to think about plants. Using your site map with its sun/shade notes, you can choose plants that will actually thrive.
Your goal is not to buy one of everything that looks pretty. Your goal is to solve problems and add beauty with purpose.
- Structure: Start with trees and large shrubs. These give your yard height and a sense of permanence. A small ornamental tree like a Serviceberry or Dogwood can anchor a corner of the yard.
- The Mid-Layer: Fill in with evergreen and perennial shrubs. These provide year-round interest. Think Boxwoods for formal hedges, Hydrangeas for summer color, and grasses for texture.
- Color & Fillers: Use perennials and annuals as the 'throw pillows' of the garden. Plant in groups or drifts of 3, 5, or 7 for a more natural, impactful look. Heuchera, Hostas, and Ferns are great for shade; Coneflower, Black-Eyed Susans, and Sedum are fantastic for sun.
If the idea of constant pruning, watering, and fertilizing gives you a headache, focus on low-maintenance backyard ideas. Native plants are almost always a great choice, as they're adapted to your climate and support local wildlife.
Step 6: Light It Up for 24/7 Use
Don't let your beautiful new backyard disappear after sunset. Landscape lighting is the final touch that makes a space feel professional, safe, and usable at night.
There are three basic types of lighting:
- Task Lighting: Illuminates specific areas for a purpose, like grilling or walking. Path lights and deck step lights are key here.
- Accent Lighting: This is the fun stuff. An uplight on a beautiful tree, for example. The VOLT BuddyPro Brass Spotlight is a fantastic, durable fixture for about $40 that can make a Japanese Maple look like a piece of art at night.
- Ambient Lighting: General, soft illumination. String lights over a patio are a perfect example.
Even a simple, low-voltage DIY kit can make a huge difference. For more inspiration, check out our guide to landscape lighting ideas that don't look cheap. It extends the hours you can enjoy the space you've worked so hard to create.
Frequently asked
Where do I start with a blank slate backyard?+
Start with function, not aesthetics. Before buying anything, define how you want to use the space—for dining, relaxing, playing, or gardening. Then, measure your yard and create a basic map. This functional plan will guide all your future decisions on layout, hardscaping, and planting.
How can I design a backyard on a tight budget?+
Focus on a phased approach. Start with one key area, like a small paver patio, and build out from there over time. Use affordable materials like gravel or mulch for paths, buy smaller (younger) plants that will grow, and do the labor yourself whenever possible.
What is the best software for backyard design?+
While professional software like AutoCAD exists, free tools like SketchUp Free or simple garden planners from companies like Lowe's can be useful. Honestly, for most people, a pencil, graph paper, and tracing paper are the most effective tools to start with for brainstorming layouts.
Should I install hardscaping or plant first?+
Always plan and install your hardscaping first. Patios, walkways, decks, and walls are the 'bones' of your design. They are messy to install and difficult to change. Once they are in place, you can build your gardens and planting beds around them without disturbance.