
How to Design a Backyard From Scratch: A 6-Step Guide
A blank backyard—whether it's a new build's mud pit or an overgrown mess—can feel overwhelming. We're cutting through the noise with a practical, step-by-step guide to designing a space you'll actually use.
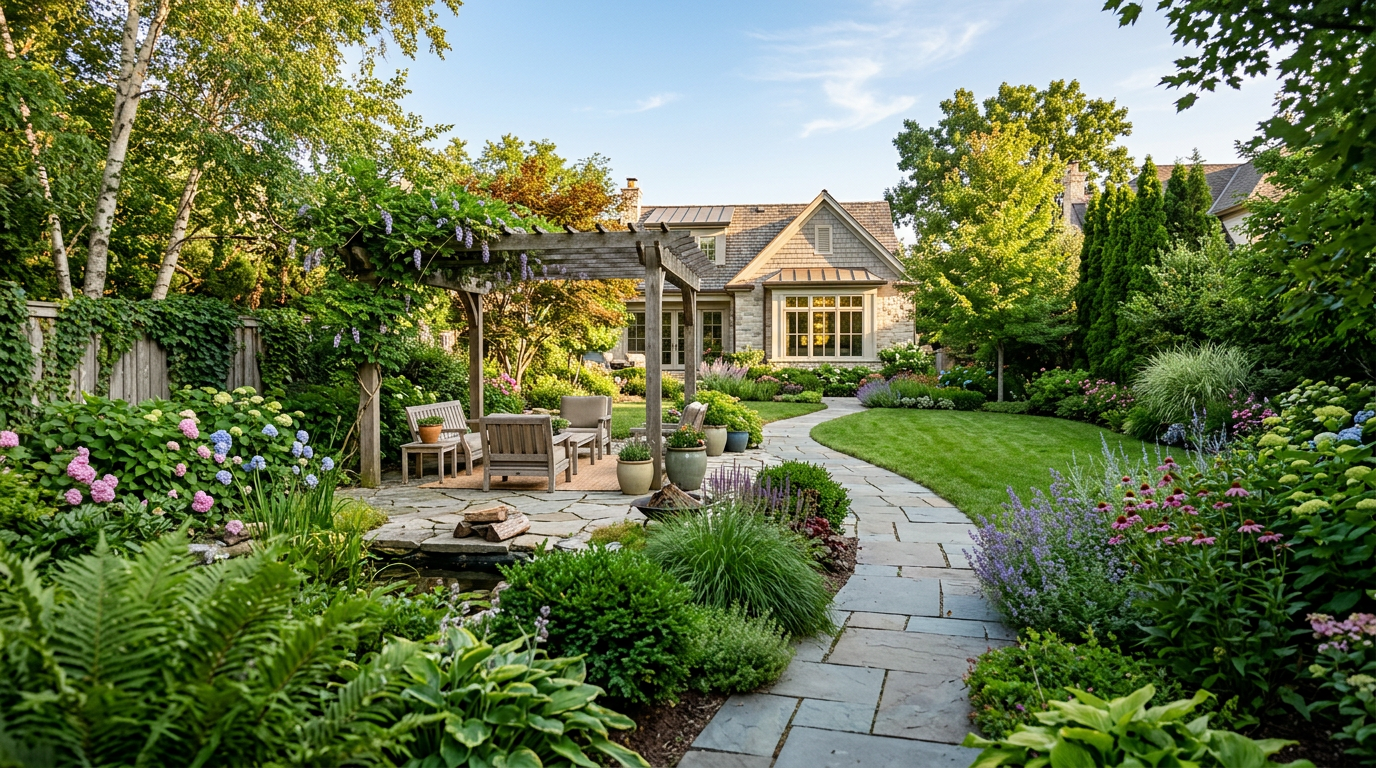
Staring at a blank slate backyard can feel like a gift and a curse. On one hand, endless possibilities! On the other hand... endless, paralyzing possibilities. Most design advice you'll find online is either meant for people with unlimited budgets or gets bogged down in pretentious theory. Forget all that.
We're here to give you a no-nonsense, step-by-step process for turning that empty space into a functional, beautiful backyard you'll actually want to spend time in. No art degree required. This is design for the real world.
Step 1: The 'Dream & Function' List
Before you even think about looking at plants or patio pavers, stop. Grab a notebook. Ask yourself and your family one simple question: What do we want to do in our backyard?
Forget aesthetics for a minute. This is about pure function. Get specific. Your list might look something like this:
- Grill and eat dinner outside with 4-6 people.
- Have a space for the kids to run around that isn't just mud.
- A quiet, shady spot for two people to read.
- Grow some easy herbs and tomatoes.
- Sit around a fire with friends in the evening.
- Let the dog have a designated potty area that's out of the way.
- Store the trash cans and lawn mower out of sight.
This list is your North Star. It dictates every decision you'll make from here on out. A yard designed for entertaining a dozen people looks very different from a quiet, private sanctuary for two. Be honest about your lifestyle, not the one you see on Instagram.
Step 2: Site Analysis (AKA 'Know Your Dirt')
Now it's time to play detective in your own backyard. You can't fight Mother Nature, so you need to understand what she's given you. This step prevents you from planting a sun-loving plant in a boggy, shady corner and wondering why it died.
- Sun Mapping: This is critical. On a sunny day, go outside every 2-3 hours (say, 9 am, 12 pm, 3 pm, 6 pm) and sketch where the sun and shade fall on a rough map of your yard. That 'full sun' area at noon might be in deep shade by 3 pm. This map tells you where to put your patio, your vegetable garden, and your shade-loving hostas.
- Soil Test: You don't need a fancy lab. Do the 'jar test': Fill a mason jar about 2/3 full with water, add a scoop of your soil, shake it vigorously, and let it settle for 24 hours. The layers will show you your soil composition—sand (bottom), silt (middle), and clay (top). This tells you if you have fast-draining sandy soil or dense, water-logged clay, which is crucial for plant selection.
- Drainage: After a heavy rain, where does water pool? Note these spots. A low, boggy area might be a nightmare for a lawn but a perfect spot for a rain garden with water-loving plants.
- Utilities & Views: Note where your hose bibs and electrical outlets are. Also, what are your views—both good and bad? You'll want to screen the view of your neighbor's trash cans and frame the view of that nice maple tree.
Step 3: Bubble Diagrams & Zoning
Okay, you have your 'what' (the function list) and your 'where' (the site analysis). Now let's put them together. Take your rough yard map and start drawing big, loose circles—or bubbles—for each function on your list.
This is not a detailed drawing. It's a 'vibe check' for your layout. Your bubbles might be labeled "Dining Zone," "Lounge Zone," "Play Zone," and "Utility Zone." Place them based on your site analysis. The "Dining Zone" bubble goes in a spot with pleasant afternoon shade. The "Play Zone" goes where you have a good view from the kitchen window. The vegetable garden goes in the spot that gets 6-8 hours of sun.
Think about flow. How do you move between these zones? Draw arrows to represent paths. Does it make sense to walk across the lawn to get from the grill to the dining table? Probably not. This is where you start to see the need for walkways. If you're working with a tight area, check out our guide on small backyard design ideas to maximize every square foot.
Step 4: Hardscaping First—The Bones
Hardscaping is the non-living stuff: patios, decks, walkways, retaining walls, and fences. We do this before planting because it's messy, involves a lot of digging and heavy materials, and is the most permanent (and often expensive) part of the design.
Your bubble diagram tells you where the patio goes. Now you can get specific. How big should it be? A 12x12 foot patio is a good minimum for a small dining set. If you want a dining table and a couple of lounge chairs, you're looking at something closer to 20x20 feet. These decisions have real budget implications, so it's worth understanding the costs. If you're considering pavers, our breakdown of how much a paver patio costs is a must-read.
This is the biggest financial and labor commitment of the project, but it also provides a huge return. According to the National Association of Realtors' 2023 Remodeling Impact Report, a new concrete paver patio has a 100% cost recovery upon resale. (Source: https://www.nar.realtor/research-and-statistics/research-reports/remodeling-impact-report) So, spend the time and money to get it right. If you're up for the challenge, our DIY paver patio guide walks you through the entire process.
Step 5: Softscaping—Choosing Your Plants
With the hardscape 'bones' in place, it's time for the fun part: the plants (aka softscaping). Go back to your sun map and soil test. The mantra here is Right Plant, Right Place.
Think in layers:
- Trees: For shade, privacy, and vertical interest. Plant them first as they take the longest to grow.
- Shrubs: The workhorses of the garden. They create structure, define spaces, and provide year-round interest. Think evergreen boxwoods for a formal hedge or flowering hydrangeas for summer color.
- Perennials: These are the plants that come back every year. Use them to fill in garden beds with color and texture.
- Groundcovers: Low-growing plants that spread to cover the soil, reducing weeds and mulch needs.
Don't just buy one of everything at the nursery. For a professional look, repeat plants in groups of 3, 5, or 7. This creates a cohesive rhythm instead of a chaotic jumble. And please, unless you truly love yard work, lean into low-maintenance backyard ideas by choosing hardy, native plants that are adapted to your climate.
Once everything is planted, apply a 2-3 inch layer of quality mulch, like Scotts Triple Shred Black Mulch (about $3.50/bag). It retains soil moisture, suppresses weeds, and gives your new beds a clean, finished look.
Step 6: Lighting & Finishing Touches
Your backyard isn't just for daytime use. A well-designed lighting scheme can transform the space after dark, making it feel magical and extending its usability for hours. This doesn't have to be complicated or expensive.
Start with a simple, low-voltage setup. A basic kit from a brand like VOLT Lighting might run you $300-$500 and includes a transformer, wire, and several fixtures. Use spotlights to uplight a beautiful tree, path lights to illuminate walkways safely, and deck lights to create a soft ambiance. We have a whole guide on landscape lighting ideas that will help you avoid the 'airport runway' look.
Finally, add the furniture and personality. This is your reward for all the hard work. Add the grill, the dining set you've been eyeing, and maybe a comfortable outdoor sofa. If a fire pit was on your function list, now's the time to build it or buy a portable one.
Designing a backyard from scratch is a marathon, not a sprint. By following these steps—function, analysis, zoning, hardscape, softscape, and finishes—you create a logical workflow that saves you from costly mistakes and results in a space that's perfectly tailored to you. It's a lot of work, but the payoff of that first evening spent in a backyard you designed and built yourself is totally worth it.
Frequently asked
Where do I even start when designing a backyard?+
Start with function, not form. Make a simple, bulleted list of everything you want to *do* in your backyard—grilling, playing, relaxing, etc. This functional wish list will guide all your subsequent design decisions and ensure the final space fits your actual lifestyle.
Should I do hardscaping or planting first?+
Always install hardscaping first. Patios, walkways, decks, and walls are the 'bones' of the landscape. Their installation is disruptive and messy. It's far easier to plant around a finished patio than it is to build a patio around delicate new plants.
What is the biggest mistake people make in backyard design?+
The biggest mistake is not having a plan. People buy plants or furniture piecemeal without a cohesive vision. This leads to a chaotic, dysfunctional space. Taking the time to analyze your site and create a simple 'bubble diagram' layout first will save you immense time and money.
How can I make my new backyard low-maintenance?+
To ensure a low-maintenance yard, choose native plants adapted to your climate, group plants with similar water needs together, and use a thick 2-3 inch layer of mulch to suppress weeds. Also, design with durable hardscape materials that don't require frequent sealing or staining.
How much does it cost to get a professional landscape design?+
The cost varies wildly. A simple planting plan might be a few hundred dollars, while a full-scale master plan from a landscape architect can run $2,000 to $10,000 or more, depending on the project's complexity. Doing the initial planning yourself can save a lot of money.