
How to Design a Backyard From Scratch: A 5-Step Guide
Overwhelmed by a blank slate? We break down the pro process for designing a backyard from scratch into simple, actionable steps anyone can follow, no design degree required.
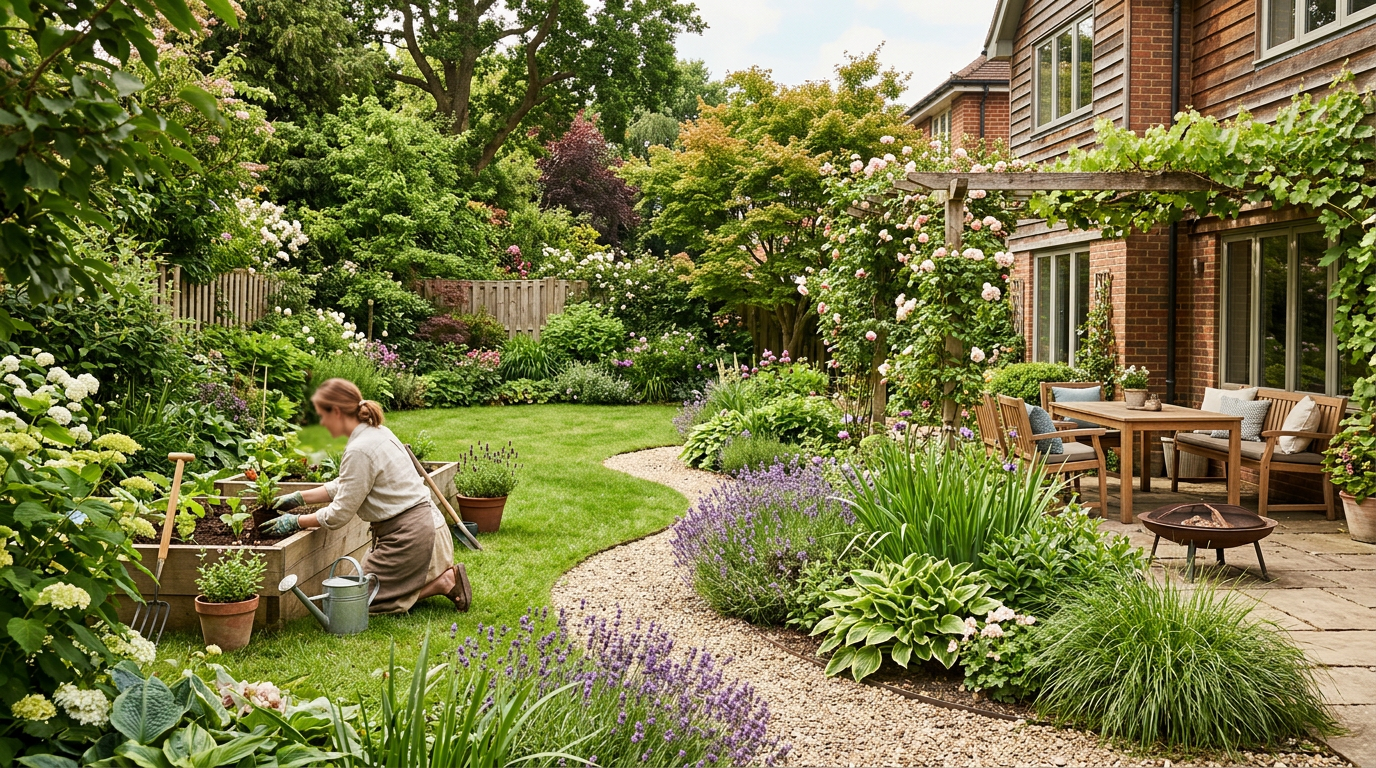
Staring at a rectangle of dirt and despair? Whether you just moved into a new build with zero landscaping or finally scraped the old, overgrown mess clean, a blank slate can feel more intimidating than inspiring. The paralysis is real. Where do you even begin?
Don't call a landscape architect just yet. We've designed hundreds of yards and have seen the same mistakes over and over. The good news is they're all avoidable. We're going to break down the exact process the pros use into five simple, manageable steps. You don't need fancy software or a horticulture degree. You just need a plan.
Step 1: The Pre-Game (Analysis & Budget)
Jumping straight to the fun stuff is a recipe for a yard that looks disjointed and costs a fortune to fix. Do the boring homework first. Trust us.
- Analyze Your Site: Grab a notebook and walk your yard. Where does the sun hit in the morning vs. the afternoon? (This is critical for plant selection and patio placement). Where does water pool when it rains? Are there views you want to highlight or hide? What's your soil like—clay, sand, or something decent? Note existing features you have to work around, like utility boxes or septic fields.
- Define Your Needs (and Wants): How do you actually want to use this space? This isn't a fantasy—be brutally honest. Do you need a place for kids to play soccer? A quiet corner for reading? A large area for grilling and entertaining 15 people? A spot for the dog? Make a list and separate the must-haves from the nice-to-haves.
- Set a Realistic Budget: This is the elephant in the yard. Be honest about what you can spend. A full professional design and install can easily hit $15,000-$50,000+. But doing it yourself, you can achieve incredible results for a fraction of that. Knowing your number helps you decide between a sprawling Belgard paver patio and a more modest gravel one. If you're wondering what the pros charge, check out our guide on how much landscape design costs. The savings from DIYing are your biggest asset.
According to the National Association of Realtors' 2023 Remodeling Impact Report, a basic landscape refresh with a new patio and plants can recoup 100% of its value at resale. So think of this not just as an expense, but as an investment in your home's equity and your own enjoyment. (Source: nar.realtor)
Step 2: The Bubble Diagram
This is the single most important step for getting your layout right. Forget about specific plants or materials. A bubble diagram is a simple, low-pressure sketch where you draw circles or 'bubbles' on a rough map of your property to represent different activity zones.
- Draw Your Base Map: Sketch the outline of your house and property lines on a piece of paper. Add major existing features like doors, windows, and large trees you're keeping.
- Draw Your Bubbles: Using your 'needs' list from Step 1, draw a circle for each function. Label them: "Dining Area," "Grill Zone," "Lounge/Fire Pit," "Kids' Play Zone," "Veggie Garden," etc.
- Arrange and Connect: Move the bubbles around. The "Dining Area" bubble should probably be close to the kitchen door. The "Grill Zone" should be near the dining area, but not so close that smoke blows on your guests. The "Kids' Play Zone" should be visible from a main window. Draw lines or arrows between bubbles to represent paths or flow. How will you walk from the patio to the garden?
Don't overthink it. The goal is to establish flow and function. This simple map is your blueprint. We've seen clients go from totally lost to having a clear vision in 30 minutes with this exercise.
Step 3: Hardscape First, Always
Once you're happy with your bubble diagram, you can start defining those spaces with hardscaping—the non-living elements of your design. Patios, decks, paths, retaining walls, and fences are the bones of your backyard. They give it structure year-round, even when the plants are dormant.
Why first? Because it's messy, disruptive work. You don't want a crew with a mini-excavator driving over your newly planted garden beds. Get the heavy lifting done before a single plant goes in the ground.
- Patios & Decks: This is your primary outdoor room. Based on your bubble diagram, stake out the size and shape. A 12'x12' patio is a common minimum, but a 20'x20' space is far more comfortable for a dining table and a small seating area. This is a great place to invest. If you're up for the challenge, our DIY paver patio guide walks you through the entire process.
- Paths: Your paths should be at least 3 feet wide to be comfortable for one person, and 4-5 feet for two people to walk side-by-side. Use simple materials like gravel, mulch, or stone steppers to connect your zones.
- Other Structures: This is the time to plan for pergolas, fences, and built-in features. Building a dedicated fire pit area? Now's the time to map it out and build it. We've got a whole guide on how to build a fire pit area that people love.
Step 4: Add Plants (The Smart Way)
With the hardscape in place, it's finally time for the green stuff. The biggest mistake amateurs make is going to a nursery, buying one of everything that looks pretty, and scattering them randomly. Stop. A cohesive, beautiful, and low-effort garden comes from a planned approach.
- Think in Layers: Place the tallest plants (trees, large shrubs) at the back of your beds or the edge of your property to create a backdrop and privacy. Then add a middle layer of medium-sized shrubs. Finally, fill in the front with perennials and groundcovers.
- Embrace Repetition: Don't plant just one of a particular perennial. Plant them in groups of 3, 5, or 7. This creates impactful drifts of color and texture, making the design look intentional and lush, not spotty.
- Right Plant, Right Place: Remember your sun map from Step 1? Only select plants that thrive in the conditions you have. Full sun, part shade, wet soil, dry soil—there's a plant for every situation. Read the tags!
- Focus on Foliage: Flowers are fleeting, but foliage provides interest all season long. Mix different leaf textures (bold, fine, glossy, matte) and colors (green, blue, silver, burgundy) for a garden that looks great even when nothing is blooming. This is the secret to low-maintenance backyard ideas that actually work.
Step 5: Layer in the Details
Your hardscape is in, the plants are in the ground—now for the finishing touches that turn a yard into a personalized oasis.
- Lighting: This is non-negotiable. Good landscape lighting extends the use of your yard into the evening and adds a massive dose of ambiance and security. You don't need to spend a fortune; a simple DIY low-voltage kit can make a huge impact. Focus on uplighting a few key trees, washing a wall, and lighting your paths and steps. Check our guide to landscape lighting ideas that don't look cheap for pro tips.
- Furnishings: Select furniture that fits the scale of your space and your style. For a 12'x12' patio, a 4-person dining set is plenty. For larger spaces, you can create separate 'rooms' with a dining set and a deep-seating conversation set.
- Finishing Touches: This is the fun stuff. Add outdoor rugs, container pots with seasonal color (the "thriller, filler, spiller" method works great here), a water feature, or that solo stove you've been eyeing. These elements are easy to change and update, allowing your design to evolve with you.
Frequently asked
Where do I even start when designing a backyard from scratch?+
Start with observation and planning, not shopping. Analyze your site for sun, water, and soil conditions. Then, define how you want to use the space and set a realistic budget. This foundational work prevents costly mistakes and ensures your design meets your actual needs.
What is the biggest mistake people make in backyard design?+
The biggest mistake is planting first. People get excited by plants, but the hardscape—patios, paths, walls—are the 'bones' of the yard. Installing these foundational elements first is crucial for a logical layout and prevents having to tear up new garden beds later.
Is there any free software I can use to design my backyard?+
Yes, there are several free options. SketchUp Free is a powerful 3D modeling tool with a bit of a learning curve. Simpler, more landscape-focused web apps like Yardzen's AI tool or the BHG Plan-a-Garden tool can help you visualize layouts and plant combinations without needing advanced skills.
How can I make my backyard look good on a small budget?+
Focus on high-impact, low-cost elements. A well-defined gravel or mulch patio is much cheaper than pavers. Use young, small plants (they grow!) and repeat them in large groups. DIY projects like a simple fire pit and string lights can add huge ambiance for minimal cost.
Should I design the whole yard at once or in phases?+
Always create a master plan for the whole yard first. But for your budget and sanity, implement it in phases. Phase 1 might be the main patio and a few key trees. Phase 2 could be the garden beds. Phase 3 could be the lighting and fire pit. This makes the project manageable.