
How to Design a Backyard from Scratch: A 5-Step Guide
Stop staring at that patch of dirt and start designing. We're breaking down the entire process of designing a backyard from scratch into five manageable steps, from the first sketch to the final plant.
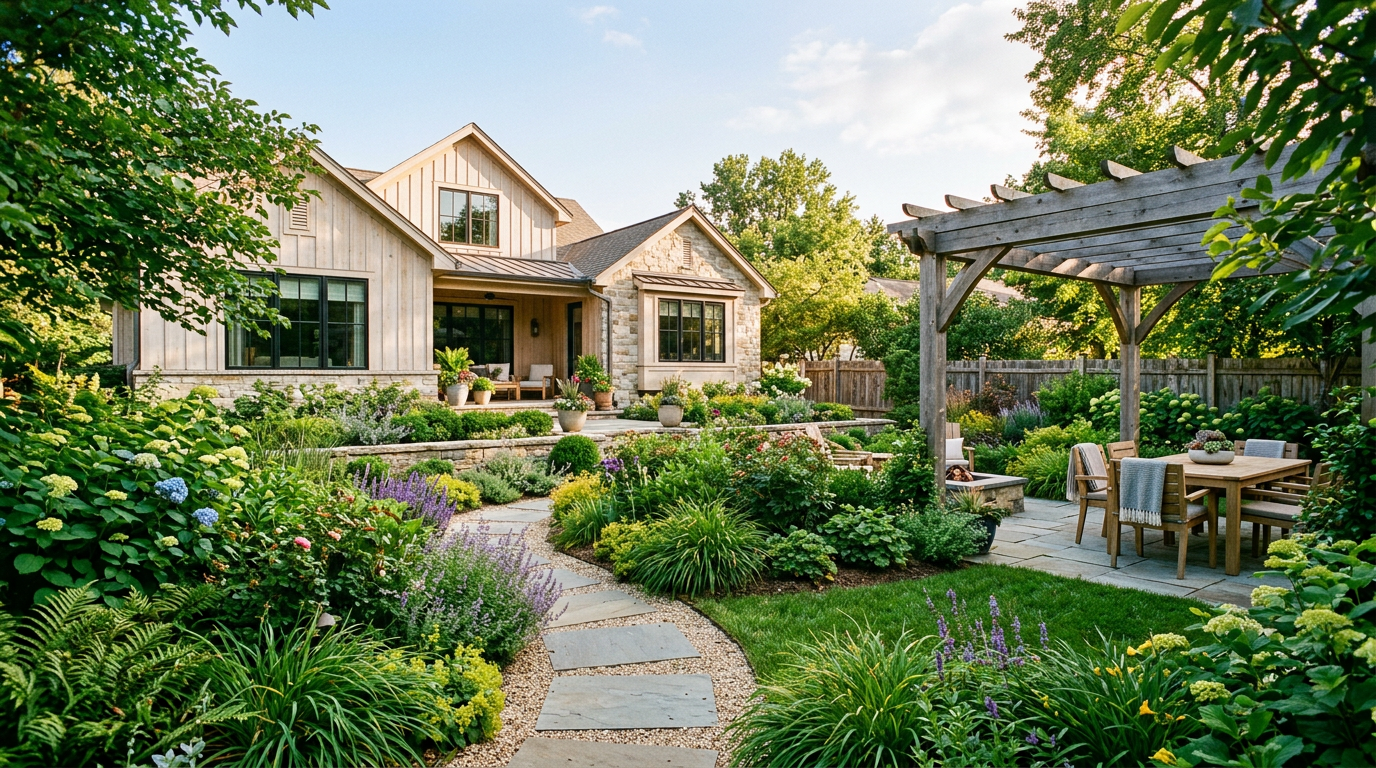
Staring at a bare backyard—whether it's from new construction or a total renovation—can be terrifying. It's a canvas of dirt, weeds, and pure, unadulterated potential. The internet will show you million-dollar backyards and tell you to 'get inspired,' which is code for 'feel poor.'
Forget that. Designing a backyard from scratch isn't about having an unlimited budget or a degree in horticulture. It's about making a solid plan that puts function first. A good plan saves you thousands of dollars in mistakes and years of frustration. We're going to walk you through the exact process the pros use, but without the fancy software or the gatekeeping.
Step 1: The 'Needs vs. Wants' Audit
Before you pin a single image or buy a single plant, stop. The most critical step is figuring out what you actually need your yard to do. A beautiful yard that doesn't fit your lifestyle is a beautiful waste of money.
Grab a notebook and answer these questions honestly:
- Who is using this yard? Is it for you and a partner to enjoy a quiet evening? Is it a playground for two kids and a Golden Retriever? A place to host 20-person barbecues?
- What will you do out here? Make a list of verbs. Eat, cook, lounge, read, play, garden, entertain, meditate, watch the kids, etc.
- How much maintenance can you tolerate? Are you a weekend warrior who loves to garden, or do you want to spend less than 20 minutes a week on upkeep? This is a great time to browse some low-maintenance backyard ideas to see what's realistic.
- What's your budget reality? Be honest. Is it $2,000 for the whole project or $15,000 for Phase One? Having a number keeps your plans grounded.
From this audit, a list of functional zones will emerge. For example: a dining area, a fire pit lounge, a small play space for kids, a vegetable garden, and a tool shed area.
Step 2: Measure and Map Your Canvas (The Bubble Diagram)
Now we translate those functions into a physical space. You don't need CAD software. You need a tape measure, a pencil, and a large sheet of graph paper (or a few sheets taped together).
- Measure your yard's perimeter.
- Draw the property lines and the outline of your house on the paper.
- Mark fixed elements: Note the locations of doors, windows, AC units, faucets, utility meters, and any existing trees or slopes you have to work with.
- Track the sun. This is non-negotiable. Spend a day noting where the sun is at 9 AM, 12 PM, 3 PM, and 6 PM. Mark these 'full sun,' 'part shade,' and 'full shade' areas on your map. A west-facing patio might be unusable on hot summer afternoons without a shade structure.
Now for the fun part: the bubble diagram. On your map, draw rough circles or ovals—'bubbles'—for each functional zone from your audit. Label them 'Dining,' 'Lounge,' 'Play,' etc. Move them around. See how they connect. The dining area should probably be close to the kitchen door. The play area should be visible from a main window. This is the stage where you can make big changes for free. Get it right on paper first.
Step 3: Define Your Zones with Hardscaping
Hardscaping—the patios, decks, paths, and walls—is the skeleton of your backyard. It's the most expensive and labor-intensive part, and it's what you should install first.
A patio or deck is the anchor of most backyard designs. It creates a solid, usable floor for your outdoor rooms. Don't skimp on size. A 10'x10' patio is barely big enough for two chairs and a tiny table. For a dining table for six, you'll want at least a 12'x14' area. If you want a dining area and a small seating area, you're looking at 300-400 square feet.
- Pavers: The king of DIY-friendly patios. They are forgiving and can be repaired easily. We laid out a full guide in our DIY Paver Patio Step by Step post. Materials for a 200 sq. ft. patio will typically run $1,200-$2,500.
- Gravel: A fantastic, budget-friendly option for secondary spaces like a fire pit area or paths. A 10'x10' pea gravel area might only cost $200-$400 in materials.
- Decks: Great for sloped yards or for a seamless transition from a raised back door. Wood is classic but requires maintenance; composite is low-maintenance but has a higher upfront cost.
This is also the time to plan for other built-in features. A dedicated fire pit is almost always a win. You can learn how to build a fire pit area yourself for under $500.
Step 4: Layer In the Greenery (Plants!)
With the bones in place, it's time to add life. Don't just go to the nursery and buy one of everything that's blooming. Think in layers, just like an interior designer would.
- The Canopy (Trees): These are the 'ceiling' of your outdoor room. They provide shade, privacy, and vertical scale. Plant them first. Choose trees for their mature size, not their size in the pot. A slow-growing Paperbark Maple is a beautiful feature tree. A clump of three Serviceberry trees provides multi-season interest.
- The Walls (Shrubs): Shrubs are the workhorses. They create privacy screens, hide ugly AC units, define the edges of your 'rooms,' and provide structure in the winter. A hedge of Arborvitae 'Green Giant' can create a fast-growing privacy screen. Groupings of hydrangeas, boxwoods, or viburnums create mass and texture.
- The Decor (Perennials, Grasses, & Groundcover): This is your color and texture layer. We've made the mistake of planting sun-lovers in a shady corner more times than we'd like to admit. Trust your sun map from Step 2. Plant in drifts or groups of 3, 5, or 7 for a natural, high-impact look. Coneflower (Echinacea), Sedum 'Autumn Joy', and Karl Foerster feather reed grass are tough, reliable choices.
A well-designed landscape is a serious value-add. According to a survey from the American Society of Landscape Architects (ASLA), the most-wanted outdoor design elements for homeowners are fire pits/fireplaces (66.0%), lighting (65.4%), and seating/dining areas (64.0%). This proves that a solid plan focusing on functional hardscaping and ambiance is exactly what people value. (Source: https://www.asla.org/NewsReleaseDetails.aspx?id=60797)
Step 5: Add Lighting and Furnishings
A backyard without lighting is only usable half the time. Good landscape lighting provides safety, security, and incredible ambiance. You don't need to light it up like a football stadium.
- Path Lights: Illuminate walkways for safe navigation.
- Uplights: Aim one or two at the base of a feature tree to create a dramatic effect.
- Wash Lights: Use these to cast a soft glow across a stone wall or the side of the house.
A pro-quality, low-voltage LED kit is a great DIY project. A starter kit from a brand like VOLT Lighting might cost around $500, is built to last, and is worlds better than the cheap solar stakes from the big box store. Check out our landscape lighting ideas for more specific techniques.
For furniture, invest in materials that can withstand the elements. Polywood furniture, made from recycled plastic, is heavy, durable, and comes in tons of colors. If you opt for wood, make sure it's a weather-resistant species like teak or cedar and plan on sealing it annually.
Putting It All Together: Phasing Your Project
Unless you have an enormous budget, you won't do all this in one weekend. That's fine. A good design is built in phases.
- Year 1, Spring/Summer: Install the main patio or deck. This is your primary functional space.
- Year 1, Fall: Plant your trees and large privacy shrubs. Fall planting is less stressful on plants and promotes strong root growth.
- Year 2, Spring: Build out the perennial beds around your patio. Install landscape edging and mulch.
- Year 2, Summer: Install the landscape lighting and purchase your permanent outdoor furniture.
This approach spreads the cost and labor out, making the entire process less overwhelming. A phased approach is one of the smartest cheap backyard makeover ideas there is.
Designing a backyard from scratch is a marathon, not a sprint. But by starting with a solid, function-first plan, you're setting yourself up for a space you'll actually use and love for years to come. Now go find that notebook.
Frequently asked
What is the first step in backyard design?+
The very first step is to perform a 'needs vs. wants' audit. Before you think about plants or materials, you must define how you want to use the space—for dining, playing, relaxing, etc. Function should always dictate form in landscape design.
How do you lay out a new backyard?+
Use a 'bubble diagram.' After measuring your yard, draw circles ('bubbles') on a map of your property to represent different activity zones like 'patio,' 'play area,' or 'garden.' This lets you easily arrange and rearrange the flow of your yard before committing to construction.
What is more important: hardscape or softscape?+
Hardscape comes first. The 'bones' of the yard—patios, decks, paths, and retaining walls—must be installed before the softscape (plants). The hardscape defines the space and its construction is disruptive, so it needs to be completed before any planting begins.
How can I design my backyard on a tight budget?+
To save money, phase the project over several seasons. Tackle a DIY paver patio first. Choose smaller, younger plants, as they are cheaper and establish quickly. Opt for a gravel patio in secondary areas, and buy furniture at the end of the season sales.
What order should you landscape your yard?+
A logical order is: 1) Planning and design. 2) Hardscaping (patios, decks, walls). 3) Large plantings (trees and shrubs). 4) Irrigation and lighting installation. 5) Smaller plantings (perennials and groundcover). 6) Mulching and final touches like furniture.