
How to Design a Backyard From Scratch: A 6-Step Guide
Designing a backyard from scratch feels daunting, but it's not. We break down the entire process into six manageable steps, from mapping your sun to choosing the right plants.
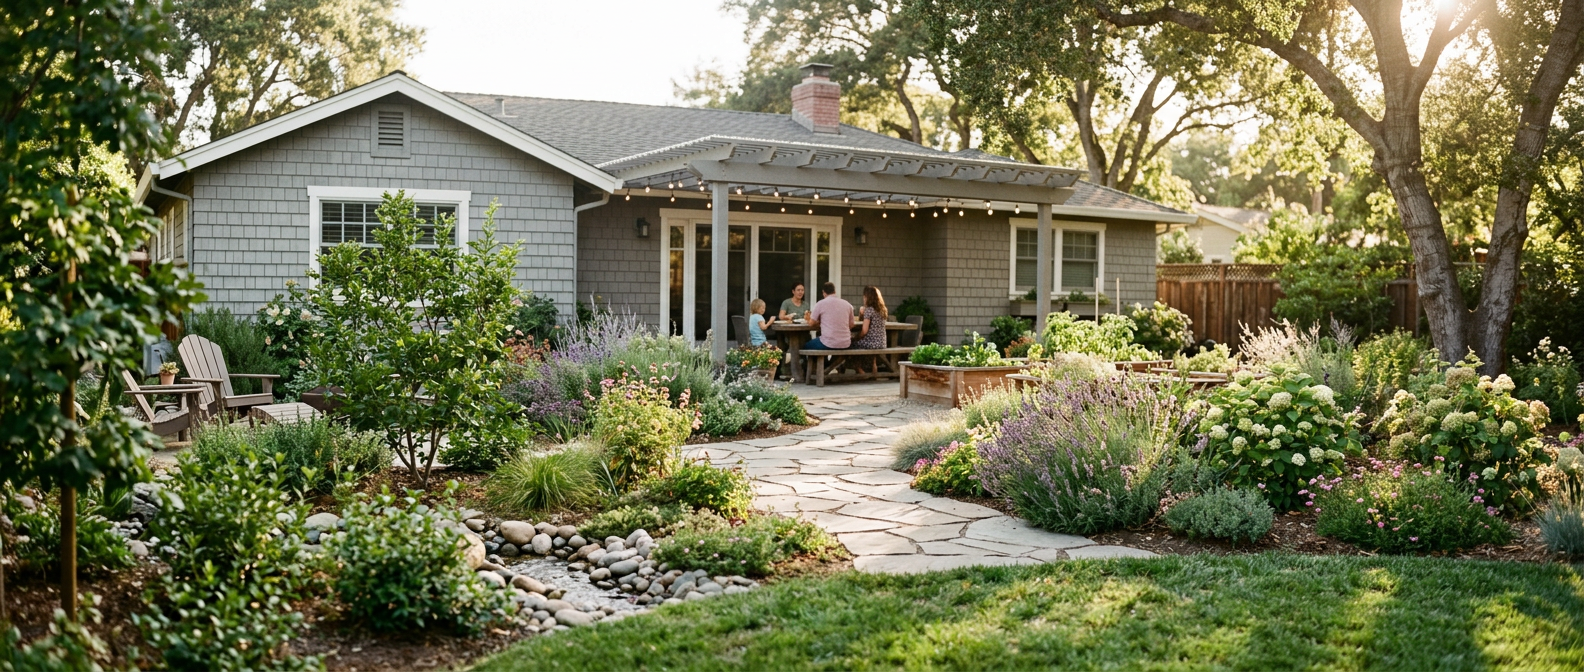
Staring at a muddy, weed-filled patch of nothing is one of the most intimidating moments for a new homeowner. A blank-slate backyard is a canvas of pure potential, but it's also a recipe for analysis paralysis. Where do you even begin? The internet will show you million-dollar backyards and tell you to "hire a pro." We say hogwash.
You absolutely can design your own backyard from scratch. The secret isn't a fat wallet or a degree in horticulture. It's a process. A logical, step-by-step plan that takes you from a vague wish list to a functional, beautiful space you actually want to spend time in. Let's get to it.
Step 1: Analyze Your Site (Don't Skip This)
Before you pin a single paver on Pinterest, you need to become an expert on your own property. This is the most-skipped step, and skipping it is the #1 cause of dead plants and wasted money. Grab a notepad.
- Sun Mapping: This is non-negotiable. Over the course of a full weekend day, go outside every two hours and note where the sun is. Where are the full-sun zones (6+ hours)? Where is the deep shade? This dictates where your vegetable garden can go, where you'll need an umbrella for your patio, and what plants will survive.
- Water & Drainage: Next time it rains hard, look out the window. Where does water pool? Where does it run? A soggy spot might be a problem you need to fix with a French drain, or it could be the perfect spot for a rain garden full of moisture-loving plants.
- Utilities: Before one shovel hits the dirt, call 811. It's a free national service that marks the approximate location of your buried utility lines. Hitting a gas or electric line will ruin your weekend and could be deadly. Just do it.
- Soil Test: You can't know what will grow if you don't know your soil. For about $20, your local university extension office will send you a soil testing kit. It'll tell you your soil's pH and nutrient levels, so you stop guessing and start planting with confidence.
Step 2: Define Your Functional Wishlist
Now for the fun part. Forget what it looks like for a minute and focus on what you want to do in your backyard. This is about function. Be honest about your lifestyle. Do you host big parties or prefer a quiet spot for two? Do you have dogs, kids, or just a deep desire to grill in peace?
Think in terms of "zones":
- The Dining Zone: A place for a table and chairs. Needs to be on a hard, level surface and preferably close to the kitchen door so you're not trekking a mile with a tray of burgers.
- The Lounge Zone: A place to relax. This could be for comfy sofas, a hammock between two trees, or a circle of chairs around a fire pit.
- The Play Zone: An open area for kids to run, a dog to fetch, or a game of cornhole. Usually means a durable lawn.
- The Utility Zone: The unglamorous but necessary spot for your trash cans, compost bin, tool shed, or AC unit. The goal here is to screen it from view.
- The Garden Zone: For growing vegetables, cutting flowers, or just showcasing beautiful plants. This zone's location is almost entirely dictated by your sun map from Step 1.
If your yard is small, you'll need to get creative and make zones do double duty. Don't worry, we've got plenty of small backyard design ideas for that.
Step 3: Create a Bubble Diagram
Take your list of zones and a piece of paper. Draw a rough outline of your property, including the footprint of your house. Now, draw a circle—a "bubble"—for each zone you want. Don't worry about shape or scale yet. Just get the bubbles on the page.
Now, move them around. Think about flow. The path from the kitchen door to the grill to the dining table should be short and direct. The kids' play zone should be easily visible from the house. The quiet lounge zone might be tucked into a far corner for privacy. This bubble diagram is your master plan. It connects your wishlist to the reality of your site. This single step will save you thousands in costly mistakes and redesigns.
Step 4: Lay the Bones with Hardscaping
Hardscaping is the non-living elements of your design: patios, decks, paths, walls, and pergolas. It's the "bones" of the yard. It's also the most expensive and disruptive part to install, which is why you do it first, before any planting.
- Patios vs. Decks: Patios are your go-to for level ground. Pavers are a fantastic, durable option. A basic 12x12 foot (144 sq ft) paver patio using something like the Belgard Weston Stone pavers at around $7/sq ft will cost you about $1,000 in just the pavers. Add another $300-$500 for the base gravel and sand. It's a big job, but we have a DIY paver patio guide to walk you through it. Decks are better for sloped ground but are typically more expensive, especially with fluctuating lumber prices.
- Pathways: Connect your zones! A simple pea gravel path is cheap and effective. For a 3-foot-wide, 40-foot-long path, you'll need about 1.5 cubic yards of gravel. At $75 per yard, that's just over $110 plus edging material.
Getting the hardscape right is a major investment, but one that homeowners are clearly prioritizing. The 2023 U.S. Houzz & Home Study found that 55% of renovating homeowners are upgrading their outdoor spaces, and the median spend on a major landscape renovation is a hefty $15,000. (Source: https://www.houzz.com/magazine/2023-us-houzz-and-home-study-renovation-trends-stsetivw-vs~164741364) By planning it yourself and starting with hardscaping, you're making the smartest investment first.
Step 5: Add Life with Softscaping (Plants!)
With the bones in place, it's time to add the living, breathing part of the landscape: your plants, lawn, and trees (aka softscape).
Go back to your sun map and soil test. Your plant choices are dictated by these, not by what looks pretty at Home Depot. A classic design principle for planting beds is "Thriller, Filler, Spiller."
- Thriller: A tall, eye-catching structural plant. Think 'Karl Foerster' Feather Reed Grass or a Sky Pencil Holly.
- Filler: Mounding, mid-sized plants that fill in the space. Hostas are perfect for shade; 'Autumn Joy' Sedum is a workhorse for sun.
- Spiller: Low-growing plants that cascade over the edges of the bed or wall. Creeping Jenny, Sweet Potato Vine, or Creeping Phlox are great options.
To save a ton of money, buy plants in smaller 1-gallon pots instead of the big 3- or 5-gallon ones. A 1-gallon perennial might be $15, while its 5-gallon big brother is $50. In two years, you won't be able to tell the difference. If you dread yard work, focus your plant search on native and drought-tolerant species. We've compiled some of our favorites in our guide to low maintenance backyard ideas.
Step 6: Install the Bling (Lighting & Features)
This is the final layer that takes a yard from nice to truly special. It's the jewelry of the landscape.
- Lighting: Good landscape lighting is a game-changer. It extends the hours you can use your yard, adds a massive amount of curb appeal, and improves safety. Don't cheap out on flimsy solar stakes. Invest in a quality low-voltage kit from a brand like Volt or Kichler. A starter kit with a transformer and several fixtures will run you $500-$800, and it's worth every penny. For more inspiration, see our list of landscape lighting ideas that don't look cheap.
- Fire: Nothing draws people together like a fire. You don't need a custom-built stone fireplace. A simple 36-inch steel fire pit ring costs less than $100. Add some gravel and chairs, and you've got an instant destination. Better yet, check out our guide on how to build a fire pit area for a weekend project.
- Water: The sound of moving water is incredibly relaxing. You can add this with a simple disappearing fountain or bubbling urn for a few hundred dollars. It adds a professional touch with minimal effort.
When we first tackled our own barren backyard, we followed this exact process. We spent a whole weekend just watching the sun and drawing bubbles on a notepad. It felt like we were wasting time, but that initial planning saved us from countless expensive mistakes. By starting with a plan, getting the hardscape right, and layering in plants and features over time, we built a space we love without breaking the bank. You can too.
Frequently asked
What is the first step in designing a backyard?+
The absolute first step is observation. Before planning or buying, map your yard's sun patterns, identify drainage issues, and call 811 to locate utility lines. Understanding your site's conditions is the foundation for a successful and safe design that will actually work in the long run.
How can I design my backyard on a budget?+
Start with a solid plan and phase your project. Do the hardscaping (patio, paths) first. Use affordable materials like gravel for paths and buy smaller, 1-gallon plants instead of large ones. A great design doesn't require spending everything at once; it requires a smart, prioritized plan.
What are backyard zones in landscape design?+
Backyard zones are distinct areas designated for specific functions, like dining, lounging, playing, or gardening. Defining these zones with a 'bubble diagram' helps create a logical, usable layout, ensuring that, for example, your quiet reading nook isn't right next to the kids' play area.
Do I need a landscape designer for my backyard?+
Not necessarily. For most straightforward backyards, you can create an excellent plan yourself by following a step-by-step process. A designer is most helpful for complex sites with major grading issues or if you have the budget and desire a highly detailed, unique planting plan.