
DIY Paver Patio Step by Step: A Complete Weekend Guide
Stop paying for overpriced landscapers. We're breaking down how to build a professional-grade paver patio yourself, step by step, in a single weekend.
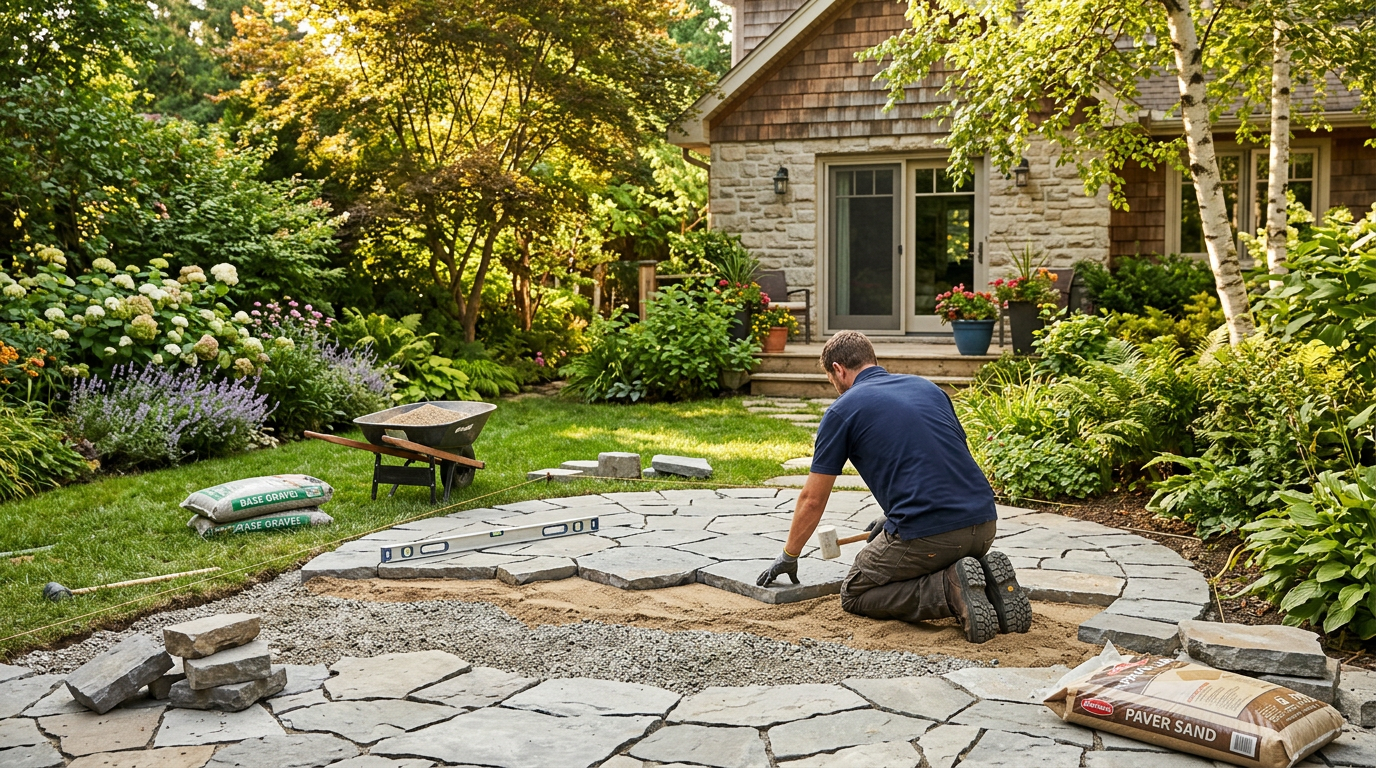
Let's be direct: contractors charge a fortune for paver patios because it's hard, heavy work. But it's not complicated work. The landscaping industry wants you to think it's some dark art, but we're here to tell you it's not. With a solid plan, the right tools, and a willingness to get dirty, you can absolutely build a paver patio that looks professional and lasts for decades.
This isn't just about saving money (though you'll save a ton—check our breakdown of how much a paver patio costs to see for yourself). It's about the satisfaction of transforming your yard with your own two hands. So grab some water, stretch your back, and let's get to work. We'll walk you through this DIY paver patio step by step.
Planning and Design: The Non-Negotiable First Step
Don't even think about touching a shovel until you have a rock-solid plan. Rushing this part is how you end up with a lumpy, crooked patio that's an eyesore instead of an oasis.
Location & Size: Where is this thing going? Consider sun exposure, proximity to the house, and how you want traffic to flow. Use a garden hose or spray paint to outline the shape on the ground. Live with it for a few days. Does it feel right? Is it big enough for your grill and a table? If you're working with a tight area, we have a ton of small backyard design ideas to help you maximize the space.
Call Before You Dig: This is not optional. Dial 811 a few days before you plan to excavate. It's a free service that marks all your underground utility lines (gas, electric, water). Hitting one of those will turn your weekend project into a five-figure disaster. Do it.
Paver Selection & Pattern:
- Concrete Pavers: The workhorse. Affordable, durable, and available in a million shapes and colors. Brands like Belgard and Techo-Bloc are top-tier, but big box store options from Pavestone are perfectly fine for a DIY project.
- Brick Pavers: Classic, timeless look. More porous than concrete, so they may need sealing in wet climates.
- Natural Stone: The premium choice. Flagstone or bluestone looks incredible but is more expensive and harder to work with due to irregular shapes and thicknesses.
For your first patio, we recommend standard 4x8 concrete pavers. They are predictable and easy to lay. As for the pattern, a simple running bond or basketweave is much more forgiving for a beginner than a complex herringbone.
Gathering Your Tools & Materials (The Shopping List)
Here’s what you’ll need to buy or rent. We're building a hypothetical 10' x 12' (120 sq ft) patio for this list.
Tools:
- Digging: Pointed and flat shovels, heavy-duty rake, wheelbarrow.
- Measuring & Marking: Tape measure, stakes, string line, 4-foot level, line level.
- Compaction: Hand tamper ($30) for small areas, but we strongly recommend renting a plate compactor from Home Depot or Sunbelt Rentals (~$70-$90/day). It's the difference between a good patio and a great one.
- Setting & Cutting: Rubber mallet, 1-inch OD (Outer Diameter) PVC pipes (two 10-foot lengths), a straight 2x4 for screeding, angle grinder with a diamond blade ($15-$30) for cuts.
Materials:
- Pavers: 120 sq ft + 10% extra for cuts and mistakes = 132 sq ft.
- Paver Base: ¾-inch crushed stone. You need a 4-inch deep layer. For 120 sq ft, that's ~1.5 cubic yards or about 75 bags (0.5 cu ft each) of something like Quikrete Paver Base. Buying in bulk by the yard is always cheaper if you can get it delivered.
- Leveling Sand: Coarse construction sand. You need a 1-inch deep layer. For 120 sq ft, that's ~0.4 cubic yards or about 22 bags.
- Edge Restraints: Prevents pavers from shifting. You'll need 44 linear feet (10+12+10+12). We like Snap-Edge or Dimex EdgePro products. Don't forget the 10-inch landscape spikes to secure them.
- Polymeric Sand: The glue that holds it all together. One 50lb bag of Alliance Gator Maxx G2 or Sakrete PermaSand covers about 50-85 sq ft, so you'll need two bags.
- Landscape Fabric: To go under your base. Get at least 150 sq ft of a heavy-duty woven geotextile fabric.
Step 1: Excavation - Digging Your Foundation
This is the hardest physical part. No contest. We've hauled more dirt and rock than we care to remember, and it never gets easier.
Your digging depth is simple math:
(Paver Height) + (1" Sand Layer) + (4-6" Gravel Base) = Total Depth
For a standard 2 ⅜" paver and a 4" base, you're digging 2.375" + 1" + 4" = ~7.5 inches. We recommend a minimum 4" base for foot traffic and 6" if you live in a freeze-thaw climate. Dig about 6 inches wider than your planned patio on all sides to give yourself room to work.
Crucial Detail: Slope. Your patio must slope away from your house to drain water. The standard is a ¼-inch drop for every 1 foot of run. Use your stakes, string line, and a line level to establish your finished height and slope before you're done digging. Check it constantly.
Step 2: Building the Base - The Most Important Part
Do not skip this. Do not cheap out on this. A weak base guarantees a failed patio. This is what separates the pros from the chumps.
First, lay down your landscape fabric across the entire excavated area. This prevents the gravel from mixing with the soil below.
Next, add your paver base. Shovel it in and rake it out, but do it in 2-inch layers (lifts). Add a 2-inch layer, rake it smooth, then use the plate compactor to go over the entire surface 3-4 times. Then add the next 2-inch layer and repeat. Compacting in lifts is the only way to get a uniformly dense base. Your final base should be solid as a rock.
This step is so critical, it's a major factor in the value of the project. According to the 2023 Remodeling Impact Report from the National Association of REALTORS®, a new concrete paver patio can recover 69% of its value upon resale. (Source: https://www.nar.realtor/research-and-statistics/research-reports/remodeling-impact-report) But that value plummets if the patio sinks and heaves because you rushed the base.
Step 3: Sand and Screeding - Getting It Perfectly Flat
Now for the magic trick that ensures a perfectly flat surface: screeding.
Lay your two 1-inch PVC pipes on top of the compacted base, parallel to each other and about 6-8 feet apart. Shovel your coarse sand between them, piling it higher than the pipes.
Now, take your straight 2x4 and, resting it on the two pipes, pull it towards you in a sawing motion. This will 'screed' the sand off, leaving a perfectly smooth, 1-inch thick bed. Remove the pipes and carefully fill in the voids with loose sand, smoothing with a trowel. Do not walk on your freshly screeded sand!
Step 4: Laying the Pavers - The Fun Part
Finally, the payoff. Start in a corner, preferably against the house, and work your way out. Place the pavers straight down onto the sand—don't slide them into place. Use a click-and-drop method, tapping them against the previous paver. Use your string lines to keep your rows perfectly straight.
Check for level every few feet. If a paver is high, tap it down with a rubber mallet. If it's low, pull it up and add a little sand underneath.
For cuts, use your angle grinder with a diamond blade. Measure twice, cut once. Wear safety glasses and a mask—silica dust is no joke.
Step 5: Finishing Touches - Edging, Compacting & Sanding
You're in the home stretch. First, install your plastic edge restraints around the perimeter, securing them into the ground with 10-inch spikes every 12-18 inches.
Next, run your plate compactor over the entire surface of the finished pavers. This settles them into the sand bed and creates a uniform, flat plane. A paver pad or piece of plywood on the compactor will prevent scuffs.
Last step: the polymeric sand. Sweep the dry sand into the joints until they are completely full. Use a leaf blower on its lowest setting to blow all the excess sand off the paver surfaces. Any sand left on top will harden into a permanent, hazy stain.
Follow the manufacturer's instructions to the letter. Typically, you'll lightly mist the patio with a hose on a 'shower' setting 2-3 times, about 10-15 minutes apart. This activates the polymers, which will harden in the joints to lock everything in place and prevent weeds. Stay off the patio for 24-48 hours.
That's it. You're done. Grab a cold drink, set up a chair, and admire your work. You just completed a serious home improvement project and created a beautiful outdoor space. Now think about adding some nice landscape lighting ideas or even a DIY fire pit area to really make it shine. This is how you pull off a cheap backyard makeover with high-impact results.
Frequently asked
How deep do I need to dig for a paver patio?+
Dig down the height of your paver, plus 1 inch for the sand layer, plus 4-6 inches for the gravel base. For a standard 2 3/8" paver and a 4-inch base, that means digging about 8 inches deep.
Can I just lay pavers on dirt or sand?+
Absolutely not. Laying pavers directly on dirt or just a thin layer of sand will result in a wavy, sinking mess within a year. A compacted gravel base is essential for stability and longevity.
What is the best base for a paver patio?+
The best base is 4-6 inches of ¾-inch crushed angular stone, often called paver base or crusher run. It compacts tightly to create a solid, interlocking foundation that also allows for drainage.
How much slope does a paver patio need?+
A paver patio needs a gentle slope of about 1/4 inch per foot, directed away from your house foundation. This ensures proper water drainage and prevents pooling or flooding issues near your home.
Is polymeric sand necessary for pavers?+
Yes, for a long-lasting, low-maintenance patio. Polymeric sand hardens to lock pavers together, preventing them from shifting. It also dramatically reduces weed growth and insect infestation in the joints.