
DIY Paver Patio Step by Step: A Complete Weekend Guide
Tired of looking at that sad patch of lawn? Building your own paver patio is a totally doable project that adds major value and function to your yard. We'll show you how, step by step.
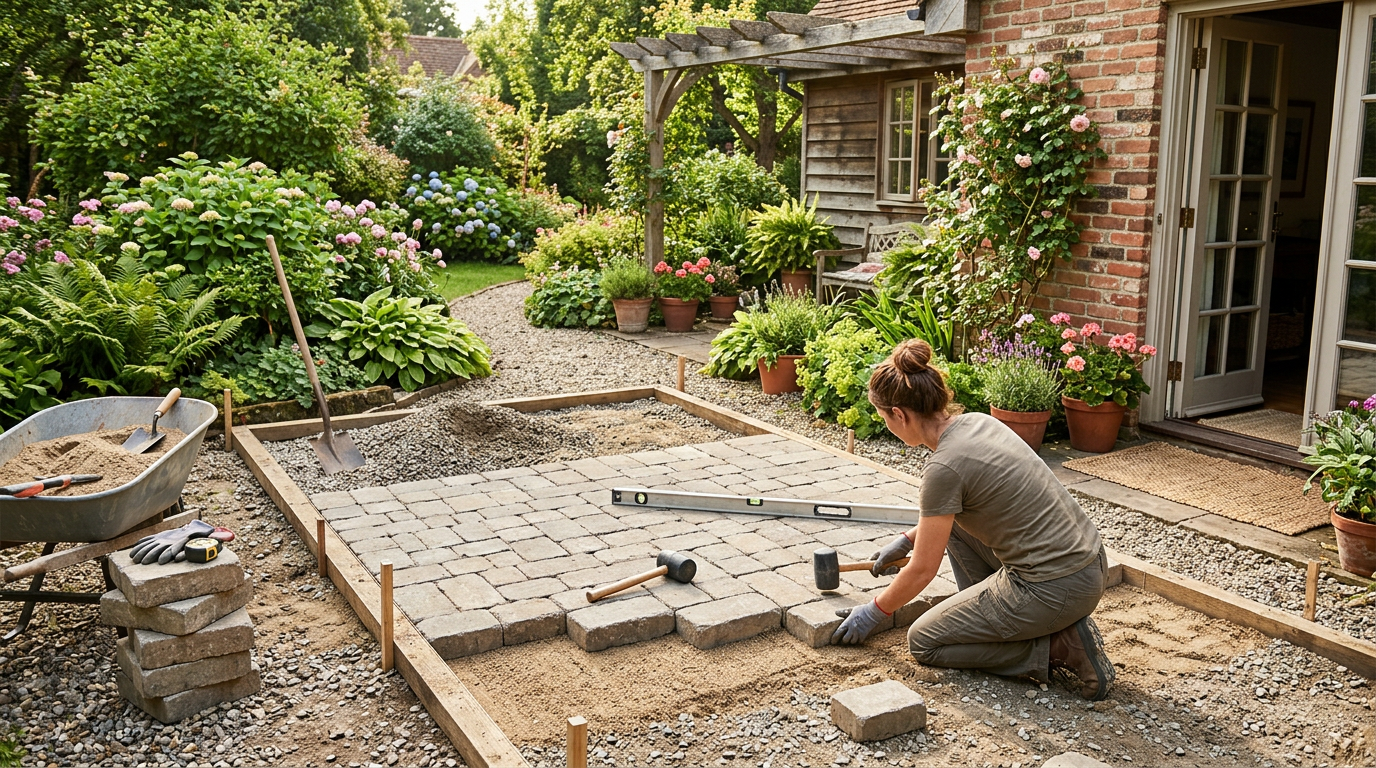
That patch of grass in your backyard isn't doing anyone any favors. You know the one—it's a little too shady to thrive, a little too lumpy to enjoy. It's time to turn that useless space into a professional-looking paver patio. And yes, you can absolutely do it yourself.
We're not going to lie to you: this is a physically demanding job. You will be sore. But for a weekend or two of hard work, you get a feature that adds thousands to your home's value and gives you a perfect spot for a grill, a fire pit, or just a chair to sit in and admire your handiwork. Forget paying a contractor $25 per square foot. We’re going to get this done for a fraction of the cost.
Let’s get to work.
Step 1: Design, Plan, and Gather Your Tools
Before you touch a shovel, you need a plan. Where is this patio going? How big will it be? What pattern will you use? A simple running bond or basketweave is great for beginners. A complex herringbone looks amazing but requires a lot more cutting.
Once you have a spot picked out, use marking paint or stakes and string to outline the exact shape. Live with it for a day or two. Make sure it feels right.
CRITICAL FIRST STEP: Call 811. This is the national "call before you dig" number. They will send someone out (for free) to mark any underground utility lines. The last thing you want to do is hit a gas line and turn your weekend project into a neighborhood evacuation.
Now, gather your arsenal. You can buy most of this, but rent the heavy-duty stuff.
Tools You'll Need:
- Shovels: A flat-head for scraping and a pointed digger for breaking ground.
- Wheelbarrow: A good 6-cubic-foot steel wheelbarrow is your best friend.
- Tape Measure & Level: A 25-foot tape and a 4-foot level are essential.
- Stakes and String: For keeping your lines straight.
- Plate Compactor: Do not skip this. Rent one from Home Depot or a local rental shop for ~$90/day. It's the key to a base that doesn't fail.
- Hand Tamper: For corners the compactor can't reach.
- Angle Grinder with Diamond Blade: For cutting pavers. A wet saw is even better if you can rent one.
- Rubber Mallet: For tapping pavers into place.
- Broom: A stiff-bristled push broom.
Materials You'll Need:
- Pavers: Measure your square footage (Length x Width) and add 10% for cuts and mistakes.
- Paver Base: A crushed aggregate like QUIKRETE Paver Base. You'll need a 4-inch deep layer.
- Paver Sand: Coarse, washed sand like QUIKRETE All-Purpose Sand for the 1-inch setting bed.
- Edge Restraints: Plastic or aluminum edging like ProFlex Paver Edging (~$20 per 6 ft).
- Polymeric Sand: The special jointing sand that hardens, like Gator Maxx G2 (~$55 per bag).
- 1-inch PVC pipes: For screeding the sand layer perfectly flat.
If you're working with a tight area, check out some of our small backyard design ideas to maximize your new space.
Step 2: Excavation Station
This is where the real work begins. You need to dig out the entire patio area to a specific depth. The formula is simple:
Depth = Paver Height + 1" Sand Bed + 4" Compacted Base
For a standard 2 3/8" paver, you’re digging down about 7.5 inches. Let's just call it 8 inches to be safe. Dig 6 inches wider than your final patio dimensions on all sides to give yourself room to install the edge restraints.
As you dig, use your wheelbarrow to move the dirt to a tarp or another part of your yard. Try to keep the bottom of your excavated area as flat and level as possible. And remember to establish a slight slope away from your house—about 1/4 inch of drop for every 1 foot of run. This is non-negotiable for drainage.
Step 3: The Base is the Boss
If your patio fails, it will be because you messed up the base. Don’t mess up the base. This layer provides the structural integrity for the entire project.
Start bringing in your paver base material with the wheelbarrow. Spread it out evenly. You're aiming for a final, compacted depth of 4 inches. It's best to do this in two 2-inch "lifts." Lay down 2-3 inches of base, rake it smooth, and then run the plate compactor over it 3-4 times. Then add the next 2-3 inches and repeat. The base should feel as hard as concrete when you're done.
According to the Interlocking Concrete Pavement Institute (ICPI), a properly compacted aggregate base is what gives a paver system its strength, accounting for the vast majority of its load-bearing capacity. They recommend a minimum of 4 inches of base for pedestrian patios, and 6 inches for areas with heavier use. Skimping here guarantees a lumpy, sinking mess in a few years. (Source: https://www.icpi.org/paving-systems/technical-specifications)
Step 4: Screeding the Sand Bed
Now you'll create the 1-inch sand bed where the pavers will sit. Lay your two 1-inch PVC pipes on top of the compacted base, parallel to each other and a few feet apart. Dump your paver sand between them.
Take a straight 2x4 and, resting it on the two pipes, pull it towards you in a sawing motion. This is called "screeding." It will level the sand to a perfect 1-inch depth. Once an area is screeded, carefully remove the pipes and fill in the voids with a little more sand, smoothing it with a trowel. Do NOT walk on or compact the screeded sand.
Step 5: Laying Pavers (The Fun Part)
Finally! Time to lay some pavers. Start in a 90-degree corner, ideally against the house. Lay the pavers directly on the sand bed. Don't slide them; use a gentle "click-and-drop" motion, clicking the edge against the previously laid paver and then dropping it into place. This prevents sand from bulldozing up into the joints.
Lay your main field of pavers first, working your way outward. Don't worry about the edge pieces that need cutting yet. Use your string lines to keep your rows straight. Check for levelness across the pavers every few rows. If a paver is too high, tap it down with a rubber mallet. If it's too low, pull it up and add a pinch of sand underneath.
Once the main field is done, use your angle grinder to cut the edge pieces to fit. Wear safety glasses and a dust mask. It's dusty, loud, and dangerous work. Take it slow.
Step 6: Edge Restraints and Final Compaction
With all pavers in place, it’s time to lock them in. Install your paver edging around the entire perimeter, hammering the provided spikes through the base material every 12-18 inches. This sturdy frame prevents the pavers from shifting and spreading over time.
Now, run the plate compactor over the entire surface of the finished patio. This settles the pavers firmly into the sand bed and creates a smooth, interlocked surface. A compactor pad or a piece of scrap plywood can prevent scuffing the pavers. Make two passes.
Step 7: The Magic of Polymeric Sand
This is the final touch that separates amateur work from a pro job. Polymeric sand is a fine sand mixed with a binding agent that hardens when activated with water. It locks the pavers together and, most importantly, prevents weeds from growing in the joints. This one step is key to our low-maintenance-backyard-ideas.
Sweep the polymeric sand over the entire dry patio, working it into all the joints until they are completely full. Then, use a leaf blower on its lowest setting to blow all the excess sand off the surface of the pavers. Any sand left on top will harden into a hazy film. Be meticulous.
Now, set your hose nozzle to the finest mist setting. MIST. We repeat: MIST the patio. Don't spray it. Gently mist the joints to activate the binder. Follow the specific instructions on the bag, but it's usually a couple of light passes a few minutes apart. Let it cure for 24-48 hours before walking on it or putting furniture on it.
Congratulations, you just built a patio. It's one of the best cheap backyard makeover ideas that delivers a massive return on investment and enjoyment. Now, think about adding some uplighting or string lights to make it usable at night—check out our guide to landscape lighting ideas that don't break the bank.
Frequently asked
How deep do I need to dig for a paver patio?+
You need to excavate to a depth equal to your paver's height, plus a 1-inch sand bed and a 4-inch compacted base. For a standard 2 3/8-inch paver, this means digging down about 7.5 to 8 inches from your desired final patio height.
Can I just build a paver patio directly on dirt?+
Absolutely not. Laying pavers on dirt without a proper base will result in a sinking, uneven, and weed-infested mess within a year. The excavated base of compacted aggregate and sand is essential for drainage and structural stability, preventing movement and frost heave.
What is the best base for a paver patio?+
The best base is a multi-layer system. It starts with your native, compacted soil, followed by a 4- to 6-inch layer of compacted paver base (crushed aggregate), and topped with a 1-inch layer of coarse paver sand (the setting bed). This combination provides stability and drainage.
How much does a DIY paver patio cost?+
A DIY paver patio typically costs between $5 and $15 per square foot. The price varies based on the pavers you choose, local material costs, and tool rental fees. This is significantly cheaper than the $20-$30+ per square foot charged by professional installers.
Do I really need to rent a plate compactor?+
Yes, 100%. A hand tamper cannot achieve the level of compaction needed for a durable, long-lasting paver base. Renting a plate compactor for a day is the single best investment you can make to ensure your patio doesn't sink, shift, or become uneven over time.